A knitting chart is a visual representation of your knitting pattern, displayed as a grid where each square represents a single stitch. Reading complex knitting charts requires understanding how the grid structure, row numbering, and directional cues work together to guide your needlework from start to finish.
The Complete Guide to Lace Knitting: Your lace knitting master class - Paperback
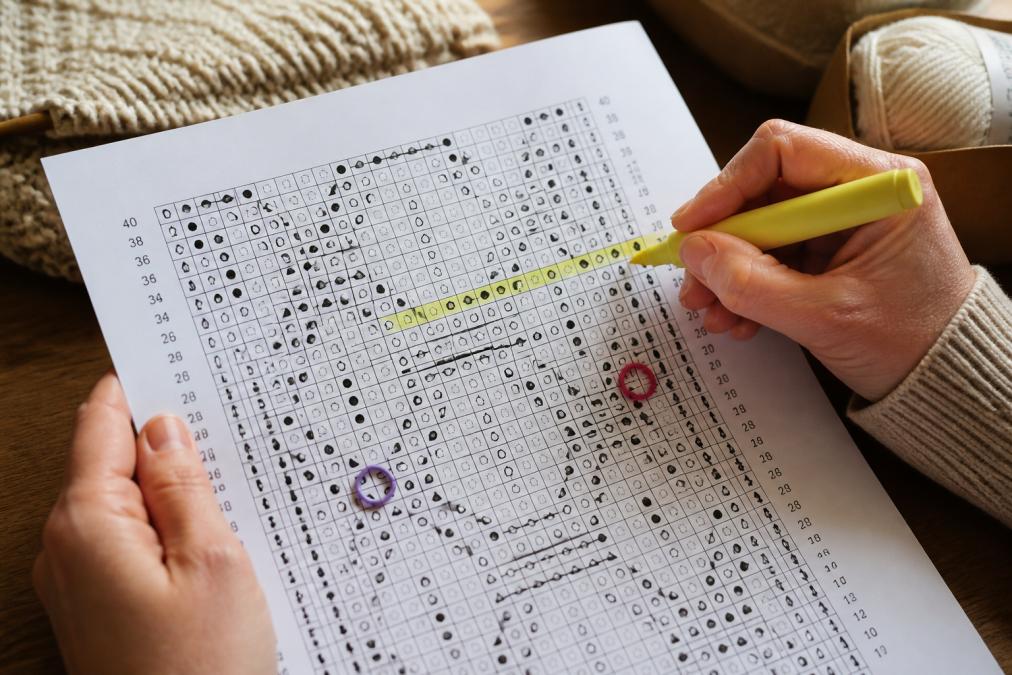
Close-up of hands holding a printed knitting chart with a highlighter marking progress, stitch markers visible on the grid, row numbers clearly displayed along the edges
Grid structure and row numbering
The grid's horizontal lines represent individual rows of stitches; each vertical column represents a stitch. When you read a chart from bottom to top (the standard for most knitting), you're moving from cast-on toward the finished edge. Row numbers appear in the margin, typically on alternating sides depending on whether you're working flat or in the round.
For flat knitting, odd-numbered rows usually appear on the right margin, and even-numbered rows on the left, reflecting how you turn your work at the end of each row. For circular knitting, rows are numbered consecutively, often appearing only on the right side since you never turn your work.
A chart's width tells you how many stitches you need to cast on (or how many stitches fit within one repeat unit). The height tells you how many rows the pattern spans. Some charts compress multiple rows into single lines, particularly in lace patterns where yarn overs and decreases create visual effects across multiple rounds.
Chart orientation and direction
For flat knitting, right-side rows are read from right to left, while wrong-side rows are read from left to right. This mirrors how your needles actually move through the stitches during knitting. For circular knitting, every row reads from right to left consistently, since you're always moving in one direction around the needle.
Professional charts include directional arrows or printed labels to clarify orientation. When in doubt, remember that you always read in the direction your working yarn naturally travels, toward the needle where your stitches live.
Every knitting chart relies on a consistent symbol system representing specific stitches and actions: knit stitches, purl stitches, yarn overs, decreases, and cable crossings. An empty square typically means "knit on the right side, purl on the wrong side." A dot or filled square means "purl on the right side, knit on the wrong side." A forward slash represents a right-leaning decrease (knit 2 together), while a backslash shows a left-leaning decrease (slip, slip, knit).
Standard symbol meanings
A yarn over (often shown as a small circle or oval) creates a new stitch and a decorative hole, appearing frequently in lace patterns and eyelet details (craftyarncouncil.com). Decreases appear as diagonal lines: right-leaning decreases (k2tog) typically show as a forward slash, left-leaning decreases (ssk) as a backslash, and central double decreases as a double-slash or specialized symbol.
Cable crossings use box notations. A cable that crosses 3 stitches over 3 stitches appears as a box spanning 6 squares horizontally and however many rows the cable twist requires vertically. Within that box, smaller symbols or numbers indicate which stitches cross over which.
Reading the legend and key
Every legitimate chart includes a legend or key. Before you knit a single stitch from a new chart, spend five minutes studying the legend completely. Legends vary between designers and publishers; what one designer shows as an empty square, another might show as a dot with a specific meaning. When you encounter an unfamiliar symbol, the legend is your first resource.
Right Side vs. Wrong Side: Reading Charts Correctly
Understanding right side versus wrong side is fundamental to reading complex knitting charts accurately. The right side (RS) is the public-facing surface of your finished knitting. The wrong side (WS) is the back, typically hidden from view.
Charts for flat knitting must account for the fact that you flip your work at the end of each row. Odd-numbered rows (typically 1, 3, 5, etc.) are right-side rows; you read them right to left and work the stitches as charted. Even-numbered rows are wrong-side rows; you read them left to right, and you must reverse the stitch logic. A knit stitch on the chart becomes a purl stitch when worked on the wrong side, and vice versa.
Circular knitting eliminates this complication. Since you never turn your work, every row is a right-side row from your perspective. The chart shows the right side consistently, and you read every row in the same direction.
Knitting Chart Repeats Explained: Pattern Sequences and Stitch Counts
Most knitting patterns use repeating units to conserve chart space and simplify pattern instructions. A repeat unit is outlined on the chart, usually with a bold box or vertical lines marking its boundaries. The width of that box tells you how many stitches make up one repeat; the height tells you how many rows the repeat spans before the pattern cycles back to the beginning. Many patterns include edge stitches before and after the main repeat unit, worked once at the beginning and end of each row, not repeated.
Identifying the repeat unit
Locating the repeat box is your first step. Once you've identified the repeat width, count how many stitches you need to cast on. If your repeat is 8 stitches wide and you need to fit 5 repeats across, you'll cast on 40 stitches (plus any edge stitches). Many knitters make the mistake of assuming they must work an exact multiple of the repeat, when some patterns deliberately shift the repeat position on alternating rows to create specific visual effects.
Scaling patterns and adjusting stitch counts
When you need to adjust the pattern for a different size or yarn weight, you're essentially scaling the repeat unit. If your repeat unit is 10 stitches wide and you need to accommodate 3 extra stitches for a larger garment, you can add a third of a repeat unit, increase the stitch count to the next multiple of 10, or modify the repeat slightly by adding a single knit stitch or removing a decrease-increase pair that cancels itself out visually.
The key is understanding what the repeat represents structurally. A repeat that creates vertical stripes tolerates width adjustments better than a repeat that creates diagonal lines.
How to Track Knitting Chart Progress: Staying on Course
Tracking your progress while working from a chart prevents the frustration of knitting several rows before realizing you've made a mistake.
Using stitch markers and row counters
Place stitch markers at the beginning and end of each repeat unit to verify that your stitch count remains correct and catch mistakes early. Row counters, either mechanical devices that clip to your needle or simple tally marks on paper, track which row you're currently working. Some knitters mark their progress directly on the chart using a highlighter or pencil, highlighting each completed row to prevent working the same row twice or skipping a row.
Paper charts remain popular because they require no batteries and work anywhere. Many knitters make photocopies of patterns and mark up the copies, preserving the original. Digital tracking has gained popularity with knitting apps and pattern management software, which let you zoom in on specific sections, mark your progress with a virtual highlighter, and receive reminders about pattern changes.
Tackling Specialized Chart Types: Lace, Cables, and Colorwork
Complex knitting patterns often combine multiple specialized chart types. Understanding each one separately makes reading them together much more manageable.
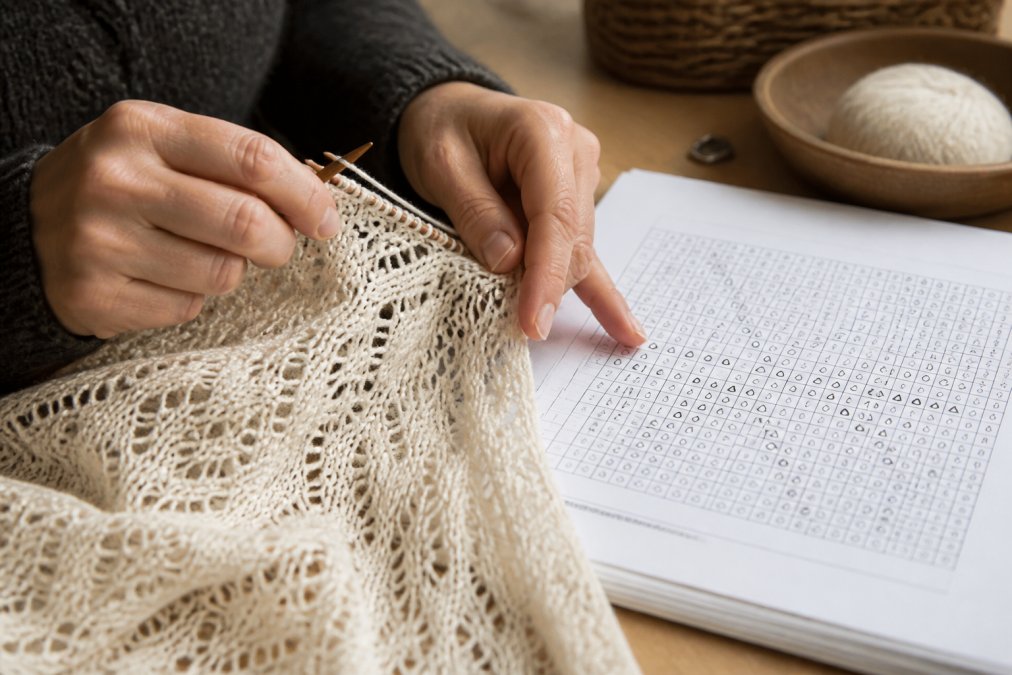
Knitter working on a lace shawl while referencing a detailed chart, hands showing the interaction between the physical knitting and the printed chart notation
Lace chart conventions
Lace charts show yarn overs and decreases in precise positions to create openwork patterns. A yarn over is typically shown as a circle or oval. The corresponding decrease appears nearby, usually directly before or after the yarn over, or sometimes several stitches away if the designer wants the holes offset from the decreases.
Lace charts frequently include "no-stitch" symbols, usually an X or shaded square, representing stitches that don't exist on that particular row. When you encounter a no-stitch symbol, you simply skip that square and don't work a stitch there.
Cable crossing notation
Cable charts use boxes to show which stitches cross over which. A cable that twists 3 stitches over 3 stitches appears as a box spanning 6 columns and however many rows the cable twist requires (typically 2-4 rows). Within the cable box, diagonal lines or numbers show which stitches go over and which go under. A cable pattern typically twists every 4-6 rows, creating the characteristic rope-like texture.
Colorwork and Fair Isle charts
Colorwork charts assign a specific color to each symbol or use different symbols for different colors. Fair Isle patterns, traditional colorwork from Scotland, are typically worked over 2-4 colors per row. The chart shows the exact position of each color change. Unlike lace patterns where yarn overs and decreases change the stitch count, colorwork maintains the same stitch count throughout.
Common Mistakes and Troubleshooting
The most frequent mistake is misidentifying row direction. Knitters read a wrong-side row as if it were a right-side row, or vice versa, causing the pattern to look backwards or inverted. Before starting each new row, verify whether it's a right-side or wrong-side row and adjust your symbol interpretation accordingly.
Another common error occurs when tracking repeats. A knitter counts stitches correctly but loses track of where the repeat boundaries fall, causing mid-pattern misalignment. Verify your stitch count every few rows, especially near repeat boundaries.
Misreading symbols causes frustration, particularly with similar-looking notations. A yarn over (circle) and a knit stitch (empty square) look similar on some charts. A right-leaning decrease (/) and a left-leaning decrease () are easy to reverse. When in doubt, reference the legend and slow down.
Many knitters struggle with lace charts because they expect the chart to show every row. Some lace patterns are charted only on the rows where decreases and yarn overs occur, with the assumption that knitters will work stockinette on the rows between. Compare the chart height to the pattern's stated row count to clarify.
Cable charts confuse knitters who don't understand that the cable box represents the action happening over multiple rows. You don't work the entire cable box in a single row; you work the stitches as they appear on that row, and the crossing happens on a specific row within the box.
Pro TipWhen you encounter a confusing section in any chart, work a few rows slowly while checking every single stitch against the chart. This methodical approach catches errors immediately rather than discovering them several rows later when fixing becomes difficult.
Conclusion
Reading complex knitting charts is a skill that develops through practice and attention to detail. Start with understanding the basic grid structure and row numbering, then build toward mastery of specialized symbols and chart types. Charts are visual instructions showing you exactly what to do, row by row, stitch by stitch, if you learn to decode their language.
At Brae & Heather, we understand that clear pattern instruction makes the difference between a completed project and an abandoned one. Our curated collection includes expertly designed knitwear patterns and specialized resources like Vogue Knitting the Ultimate Knitting Book and The Complete Guide to Lace Knitting, both essential references for intermediate and advanced knitters tackling complex charts. With premium Shetland wool and patterns designed for real bodies and skill levels, Brae & Heather provides everything you need to move from chart confusion to confident, successful knitting.
Ready to tackle your next complex pattern? Explore Brae & Heather's collection of expertly designed knitwear patterns and premium fiber. With clear instructions, authentic Shetland wool, and resources designed specifically for discerning knitters, you'll have the materials and confidence to complete the projects you love.
Chart Type
Best For
Key Challenge
Solution
Stockinette/basic
Foundation patterns
Right-side/wrong-side reversal
Mark RS/WS rows clearly
Lace
Openwork, shawls, edgings
Yarn overs and decreases alignment
Use no-stitch symbols; verify stitch count frequently
Cable
Textured, dimensional fabrics
Understanding multi-row cable boxes
Track cable crossing rows separately
Colorwork/Fair Isle
Multi-colored designs
Color changes and stitch position
Use stitch markers between color blocks
Frequently Asked Questions
Q: What is the difference between reading a chart on the right side and wrong side?
A: When knitting flat (back and forth), right-side (RS) rows are read right to left, while wrong-side (WS) rows are read left to right. This mirrors how yarn travels across your needles. For circular knitting, all rows read in the same direction (typically right to left). Always check your pattern to confirm which method applies, missing this distinction causes misaligned stitches and pattern distortion.
Q: How do I understand the repeats in a knitting chart?
A: A stitch repeat is the smallest unit of a pattern that repeats horizontally across your work. It's usually marked with vertical lines or brackets on the chart. Count the stitches within one repeat unit, then multiply by how many times the pattern repeats across your cast-on stitches. For example, if a repeat is 8 stitches wide and you cast on 40 stitches, the pattern repeats 5 times across each row.
Q: How do I keep my place when working from a complex knitting chart?
A: Use a combination of tools: place a stitch marker at the start of each repeat across your needles, use a row counter or tally sheet to track completed rows, and highlight or cover completed rows on your chart with a ruler or sticky note. Digital chart apps allow you to click off rows as you finish them. This prevents losing your place in multi-row patterns like lace or cables.
Q: Are there universal standards for knitting chart symbols?
A: Most symbols follow conventions (knit stitch as a blank square, purl as a dot, yarn over as a circle), but not all are universal. Always consult the legend or key provided with your specific pattern, designers sometimes create custom symbols for specialized stitches. This is why reading the key before starting is essential for any complex chart.




0 commentaire